WoW Dragonflight Gnarlroot Boss Guide

WoW Dragonflight Gnarlroot Boss Guide
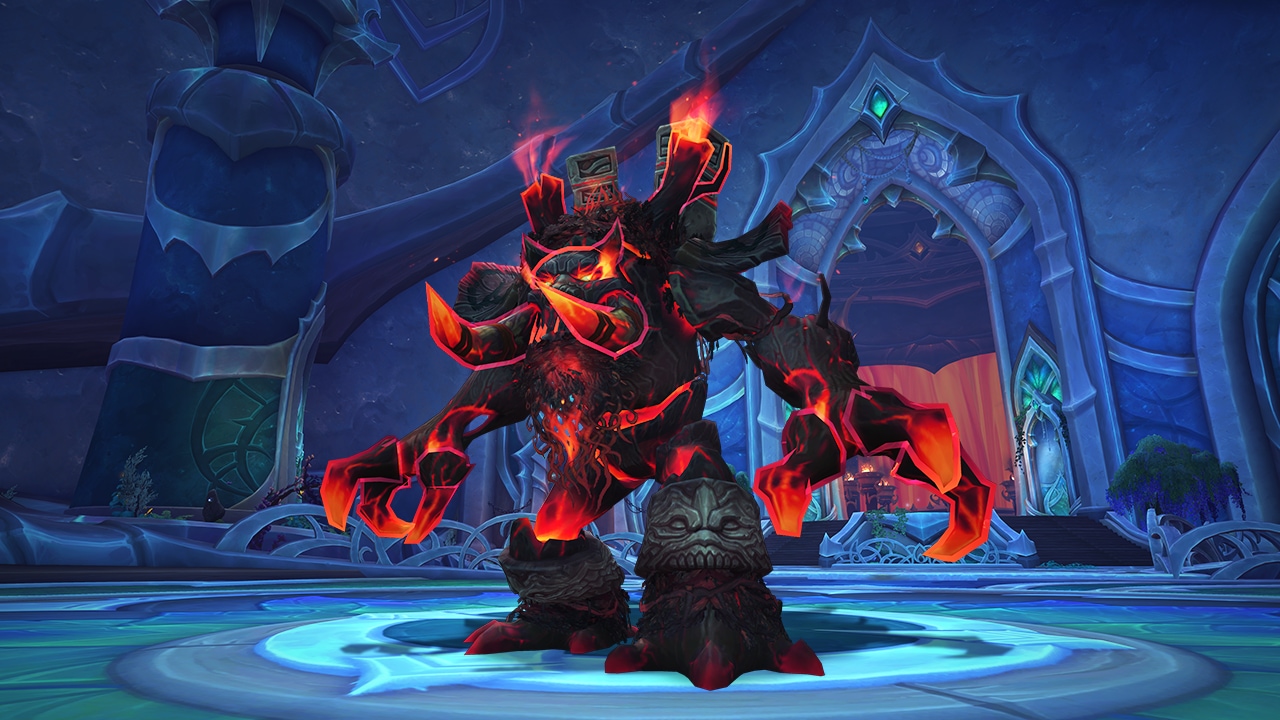
Gnarlroot is the initial boss encounter in Amirdrassil, within the Dream's Hope. It's a single-phased encounter, featuring brief intermissions whenever Gnarlroot accumulates 100 energy. The conclusion of each intermission leads into a short burn phase during which the boss is more vulnerable to damage.
Gnarlroot Strategy
Phase 1
Phase 1 lasts for approximately 100 seconds, featuring alternating casts of Flaming Pestilence and Controlled Burn, along with additional filler abilities.
Flaming Pestilence:
- Mechanic: Upon casting Flaming Pestilence, several Tainted Lashers spawn.
- Priority: Swiftly eliminate Tainted Lashers to prevent raid-wide burst damage and mitigate the stacking bleed and damage increase from Shadow Spines.
- Vicious Thicket: Watch out for Vicious Thicket, cast by each add, which increases damage for other lashers. Prioritize adds efficiently to manage this stacking buff.
- Overgrown: When lashers reach Overgrown status, they become immune to crowd control, rapidly casting Shadow Spines at their targets. Be prepared to handle increased damage during this phase.
Controlled Burn:
1. Frequency: The boss casts Controlled Burn twice per phase.
2. Targets: Several players are targeted, each dropping a Shadow-Scorched Earth puddle, covering a significant area.
3. Player Responsibility: Targeted players should move away from the raid and each other to prevent cleave damage. During the second set of debuffs, fill available spaces while avoiding damage to the raid.
Others Abilities:
1. Tortured Scream:
- Burst damage to the raid with a 10-second DOT on each player.
- Primarily for healers to manage, raid cooldowns can be utilized to mitigate some damage.
2. Shadowflame Cleave:
- Gnarlroot faces a random player, casting a frontal ability.
- Spread around the boss to limit the number of players affected.
- Move away promptly to avoid substantial damage that can be fatal.
3. Dreadfire Barrage (Tank Mechanic):
- Tanks must handle Dreadfire Barrage, dealing Physical and Shadowflame damage with a damage taken increase debuff.
- Taunt swap after each cast to avoid being hit with the debuff still active.
Intermission Strategy
The intermission phase is initiated when Gnarlroot reaches 100 energy, typically taking around 100 seconds to trigger. During this phase, the boss becomes highly resilient, and players must execute a specific strategy to progress to the next phase effectively.
Doom Cultivation:
- Upon casting Doom Cultivation, Gnarlroot becomes nearly immune to damage, clears all Shadow-Scorched Earth in the room, and spawns Doom Roots.
- Objective: The goal is to ignite all Doom Roots to conclude the intermission phase.
Splintering Charcoal:
- Every 12 seconds, Gnarlroot casts Splintering Charcoal, which releases several projectiles.
- Strategy: Have the majority of the raid, except for a few designated players, stand in the first set of Splintering Charcoal indicators to mitigate damage.
Toxic Loam:
- Toxic Loam forms under the boss during the intermission, dealing substantial damage and slowing players who pass through it.
- Avoidance: Players should steer clear of Toxic Loam to minimize damage and movement impairments.
Ember-Charred Debuff:
- Standing in the impact location of Splintering Charcoal applies Ember-Charred to players, which can be utilized to ignite Doom Roots.
- Utilization: Use Ember-Charred to set Doom Roots ablaze, removing a stack of the debuff with each ignition.
Optimal Strategy:
1. Ignition Rotation: Have the raid rotate around, setting Doom Roots on fire while avoiding Toxic Loam.
2. Projectile Mitigation: During the second set of Splintering Charcoal, players without Ember-Charred debuffs or those who have cleared them should stand in the projectile indicators to prevent raid-wide damage.
3. Cooldown Usage: Coordinate the use of raid-wide defensive cooldowns to mitigate damage during Splintering Charcoal and Toxic Loam.
Transition:
- After the intermission phase ends, Gnarlroot enters Uprooted Agony, receiving increased damage for 20 seconds.
- Coordinated DPS: Utilize offensive cooldowns to maximize damage output during this phase.
Rising Mania:
- Following Uprooted Agony, Rising Mania applies a 10% damage increase to Gnarlroot, enhancing the potency of its abilities in the subsequent Phase 1.