WoW Overview of Blackfathom Deeps in Season of Discovery

Overview of Blackfathom Deeps - Season of Discovery
Blackfathom Deeps is an ancient dungeon transformed into a raid for leveling up during the Season of Discovery in World of Warcraft Classic. This guide will provide all the necessary information to assemble a raid team and venture into Blackfathom Deeps, offering a more challenging experience.
The depths of Blackfathom are the remnants of an ancient elven temple that has become partially submerged. The servants of Elune no longer tread these halls, leaving behind the presence of evil.
To participate in this raid, reaching level 25 is required, and it will be carried out with a group of 10 players. The entrance to Blackfathom Deeps is located in Ashenvale, where brave adventurers will face 7 bosses in their quest.
It's important to note that this raid has a 3-day lockout, similar to Zul'gurub, adding a strategic component when planning raids and defeating the bosses of Blackfathom Deeps. Get ready to face thrilling challenges as you explore this dungeon turned into an epic experience for World of Warcraft Classic players during the Season of Discovery.
Arriving at Blackfathom Deeps
1. Nearby Flight Points:
- If you're Horde, use the flight point in Zoram'gar.
- If you're Alliance, choose the flight point in Astranaar.
2. Head to the Temple Entrance:
- From Zoram Strand, make your way to the temple entrance in the area. This entrance is located in Ashenvale.
- If you're Horde, make sure to head east.
- If you're Alliance, go west.
3. Descent into the Water:
- Once at the temple entrance, descend down the ramps or simply jump into the water. The water will catch you.
4. Swim Westward:
- While underwater, check your minimap and swim westward.
- Keep swimming until you surface inside the tunnels.
5. Navigate Through the Tunnels:
- Make your way through the tunnels following the direction indicated by the exit on your minimap.
- Continue until you reach the entrance of the Blackfathom Deeps raid.
By following these steps, you should reach the entrance of Blackfathom Deeps and be ready to face the challenges that await you inside the dungeon. Good luck on your adventure!


Bosses
Baron Aquanis in Blackfathom Deeps
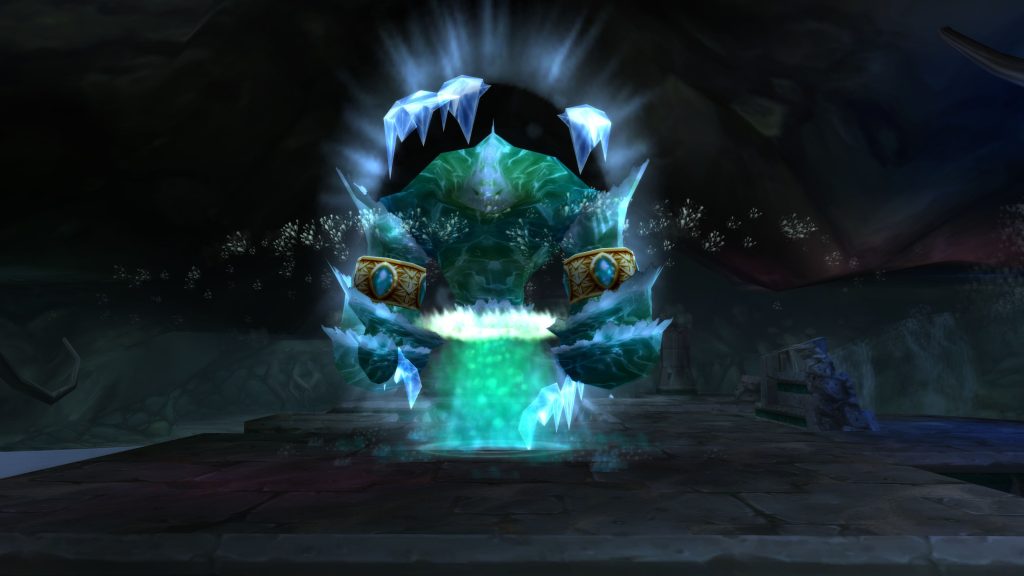
Baron Aquanis is a water elemental that guards the entrance to Blackfathom Deeps, serving as the first boss in the Wailing Caverns. He is stationary atop partially submerged ruins and attacks from there. His presence is triggered by activating three braziers in his room.
Primary Abilities of Baron Aquanis
1. Frostbolt Volley: Inflicts 185 frost damage and slows the target by 40%.
2. Bubble Burst: 10-second cast, knocks down anyone hit in front of Baron Aquanis.
3. Depth Charge: Disadvantage that, upon expiration, inflicts 231 arcane/frost damage and knocks down anyone in its radius.
4. Torrential Downpour: Area of effect on a target, inflicts 115 damage every 2 seconds to those within it.
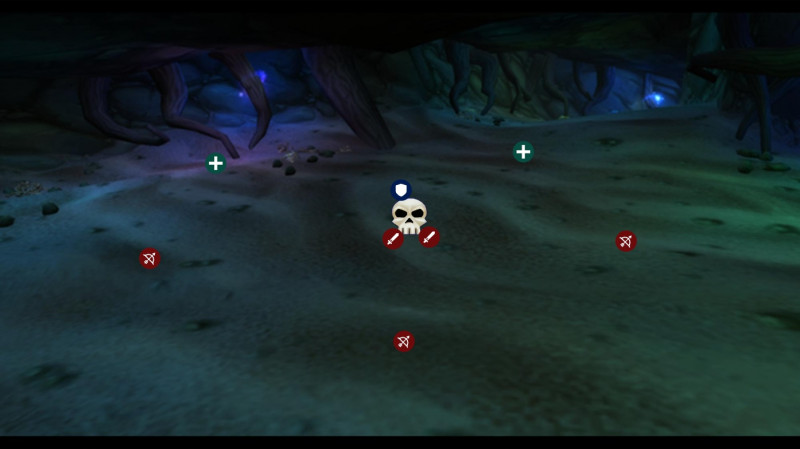
Strategy Baron Aquanis

- Before activating Baron Aquanis, clear the room of neutral and hostile enemies.
- Initiate the combat and ensure the raid spreads out on different platforms to mitigate Torrential Downpour damage.
- The tank should generate threat while the raid deals damage to the boss.
- After 15 seconds, the first Depth Charge will be applied to a random player. This player should move away from others to avoid knockbacks.
- After 30 seconds, Baron Aquanis will cast Bubble Burst and spin clockwise. Nearby players should move behind the boss.
- Ranged DPS and healers should avoid Torrential Downpour by moving out of its area.
Tips:
1. Tanks:
- Frost resistance is helpful.
- Quickly move behind the boss to avoid Bubble Burst.
2. Melee DPS:
- Avoid Bubble Burst by positioning yourself behind the boss.
- Jump into the water if affected by Depth Charge and return afterward.
3. Ranged DPS:
- Avoid Torrential Downpour by moving to another platform.
- If knocked down, you can continue DPSing from the water.
4. Healers:
- Avoid Torrential Downpour by moving to another platform.
- Use healing runes due to raid damage.
By following this strategy and applying these tips, your raid will be better prepared to face Baron Aquanis in Blackfathom Deeps. Good luck in the battle!
Ghamoo-Ra in Blackfathom Deeps
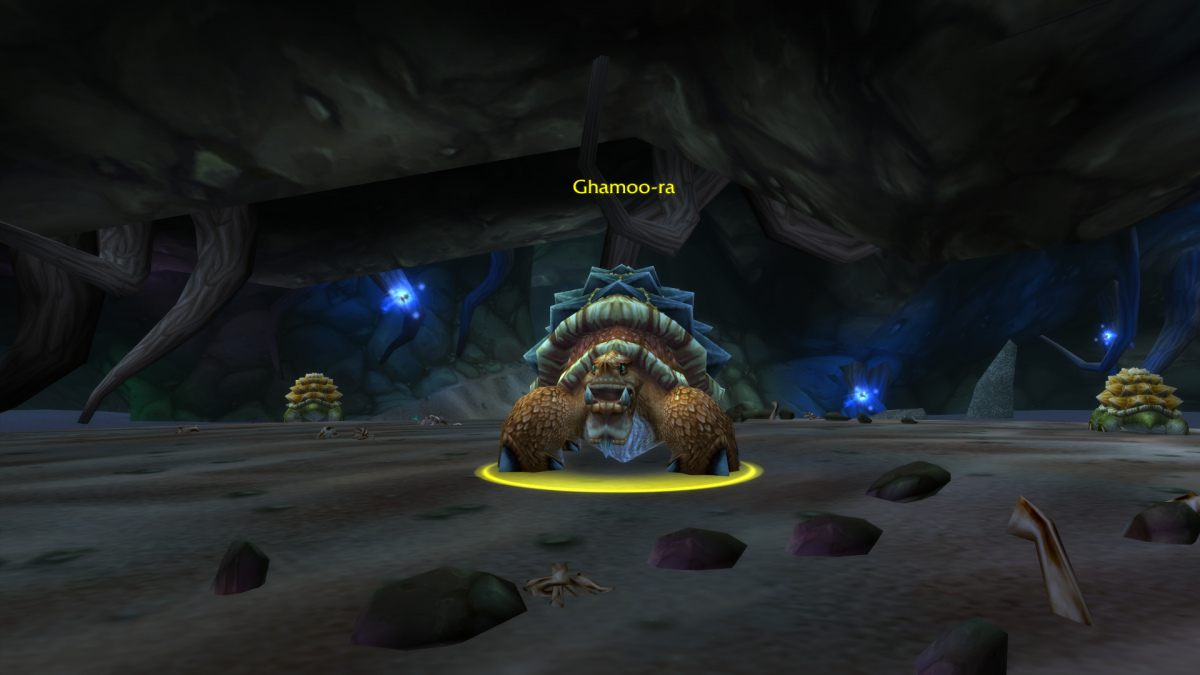
Ghamoo-Ra, a massive turtle, is the second boss in the Wailing Caverns during the Season of Discovery in World of Warcraft Classic.
Primary Abilities of Ghamoo-Ra
1. Aqua Shell: A large bubble surrounds Ghamoo-Ra, making it immune to damage until 100 instances of damage are removed.
2. Aqua Shell Burst: Upon the Aqua Shell exploding, it deals significant area-of-effect damage to all raid members.
3. Armor Crush: Applies this debuff to its current target, removing 25% of the target's armor per stack.
4. Triple Bite: Attacks its current target three times in rapid succession to cause devastating damage.
Ghamoo-Ra Strategy
- Before activating Ghamoo-Ra, clear the island of neutral turtles to avoid accidental aggro.
- The tank should lure Ghamoo-Ra to the center of the island and face it.
- When Ghamoo-Ra activates Aqua Shell, begin dealing damage until 100 instances are removed.
- Small bubbles will spawn when Aqua Shell is about to break, causing damage to anyone touching them and restoring some mana.
- Ghamoo-Ra will apply Armor Crush to the tank, and after two stacks, the off-tank should taunt to distribute the stacks.
- When Aqua Shell is about to explode, the raid should be spread out to mitigate Aqua Shell Burst.
- After the burst, DPS can continue dealing damage to the boss. Repeat the cycle.
Tips:
1. Tanks:
- Avoid receiving Triple Bite with 2 or more stacks of Armor Crush.
- Use a potion or defensive ability before Aqua Shell explodes if your health is low.
2. Melee DPS:
- Dodge the small bubbles on the ground to avoid additional damage.
- Use a potion or defensive ability before Aqua Shell explodes if your health is low.
3. Ranged DPS:
- Dodge the small bubbles on the ground to avoid additional damage.
- Use a potion or defensive ability before Aqua Shell explodes if your health is low.
4. Healers:
- Keep an eye on tanks with stacks of Armor Crush, as they will need substantial healing.
- Consider moving over a small bubble if you are low on mana, but be cautious of the timing to ensure you don't run out of mana before Aqua Shell explodes.
Lady Sarevess in Blackfathom Deeps
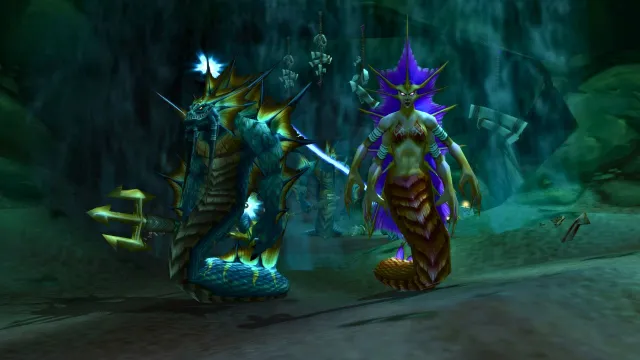
Lady Sarevess is the third boss in the Wailing Caverns during the Season of Discovery in World of Warcraft Classic. She is a ranged naga accompanied by a Blackfathom Elite tank.
Primary Abilities of Lady Sarevess
1. Frost Arrow: 1.5-second cast targeting a random player, interruptible. Applies a slowing debuff.
2. Forked Lightning: Strikes her target with natural damage and chains to nearby players. Applies the Forked Lightning debuff.
3. Freezing Arrow: Applies a frost layer on the ground at the target's location, slowing and eventually freezing anyone who remains in it for too long.
4. Freezing Arrow (Frozen Solid): Applies to both enemies and allies if they stay in the icy area for too long. Lasts 10 seconds.
Lady Sarevess Strategy
- The main tank should grab Lady Sarevess while a second tank deals with the Blackfathom Elite.
- Ignore the Elite and burn down Lady Sarevess. The Elite will disappear once she is defeated.
- Lady Sarevess will cast Freezing Arrow, creating an icy zone. Move out of it to avoid slowing and stunning effects.
- When the frost area disappears, the off-tank should move the Elite over it, freezing and stunning it.
- Lady Sarevess will also cast Forked Lightning. The main tank should face her away from the raid. Interrupt her casts.
- After one minute, a second Blackfathom Elite will appear. Burn it down before it becomes a problem.
Tips:
1. Tanks:
- Quickly move Lady Sarevess out of frost zones.
- Move the Elite over frost zones to freeze it and mitigate damage.
2. Melee DPS:
- Avoid frost zones to prevent getting stunned.
- Interrupt Lady Sarevess's casts.
- Focus solely on Lady Sarevess, not the Elite.
3. Ranged DPS:
- Avoid frost zones to prevent getting stunned.
- Interrupt Lady Sarevess's casts.
- Focus solely on Lady Sarevess, not the Elite.
4. Healers:
- Avoid frost zones and stay spread out.
- Keep an eye on the tank and heal the Elite if necessary.
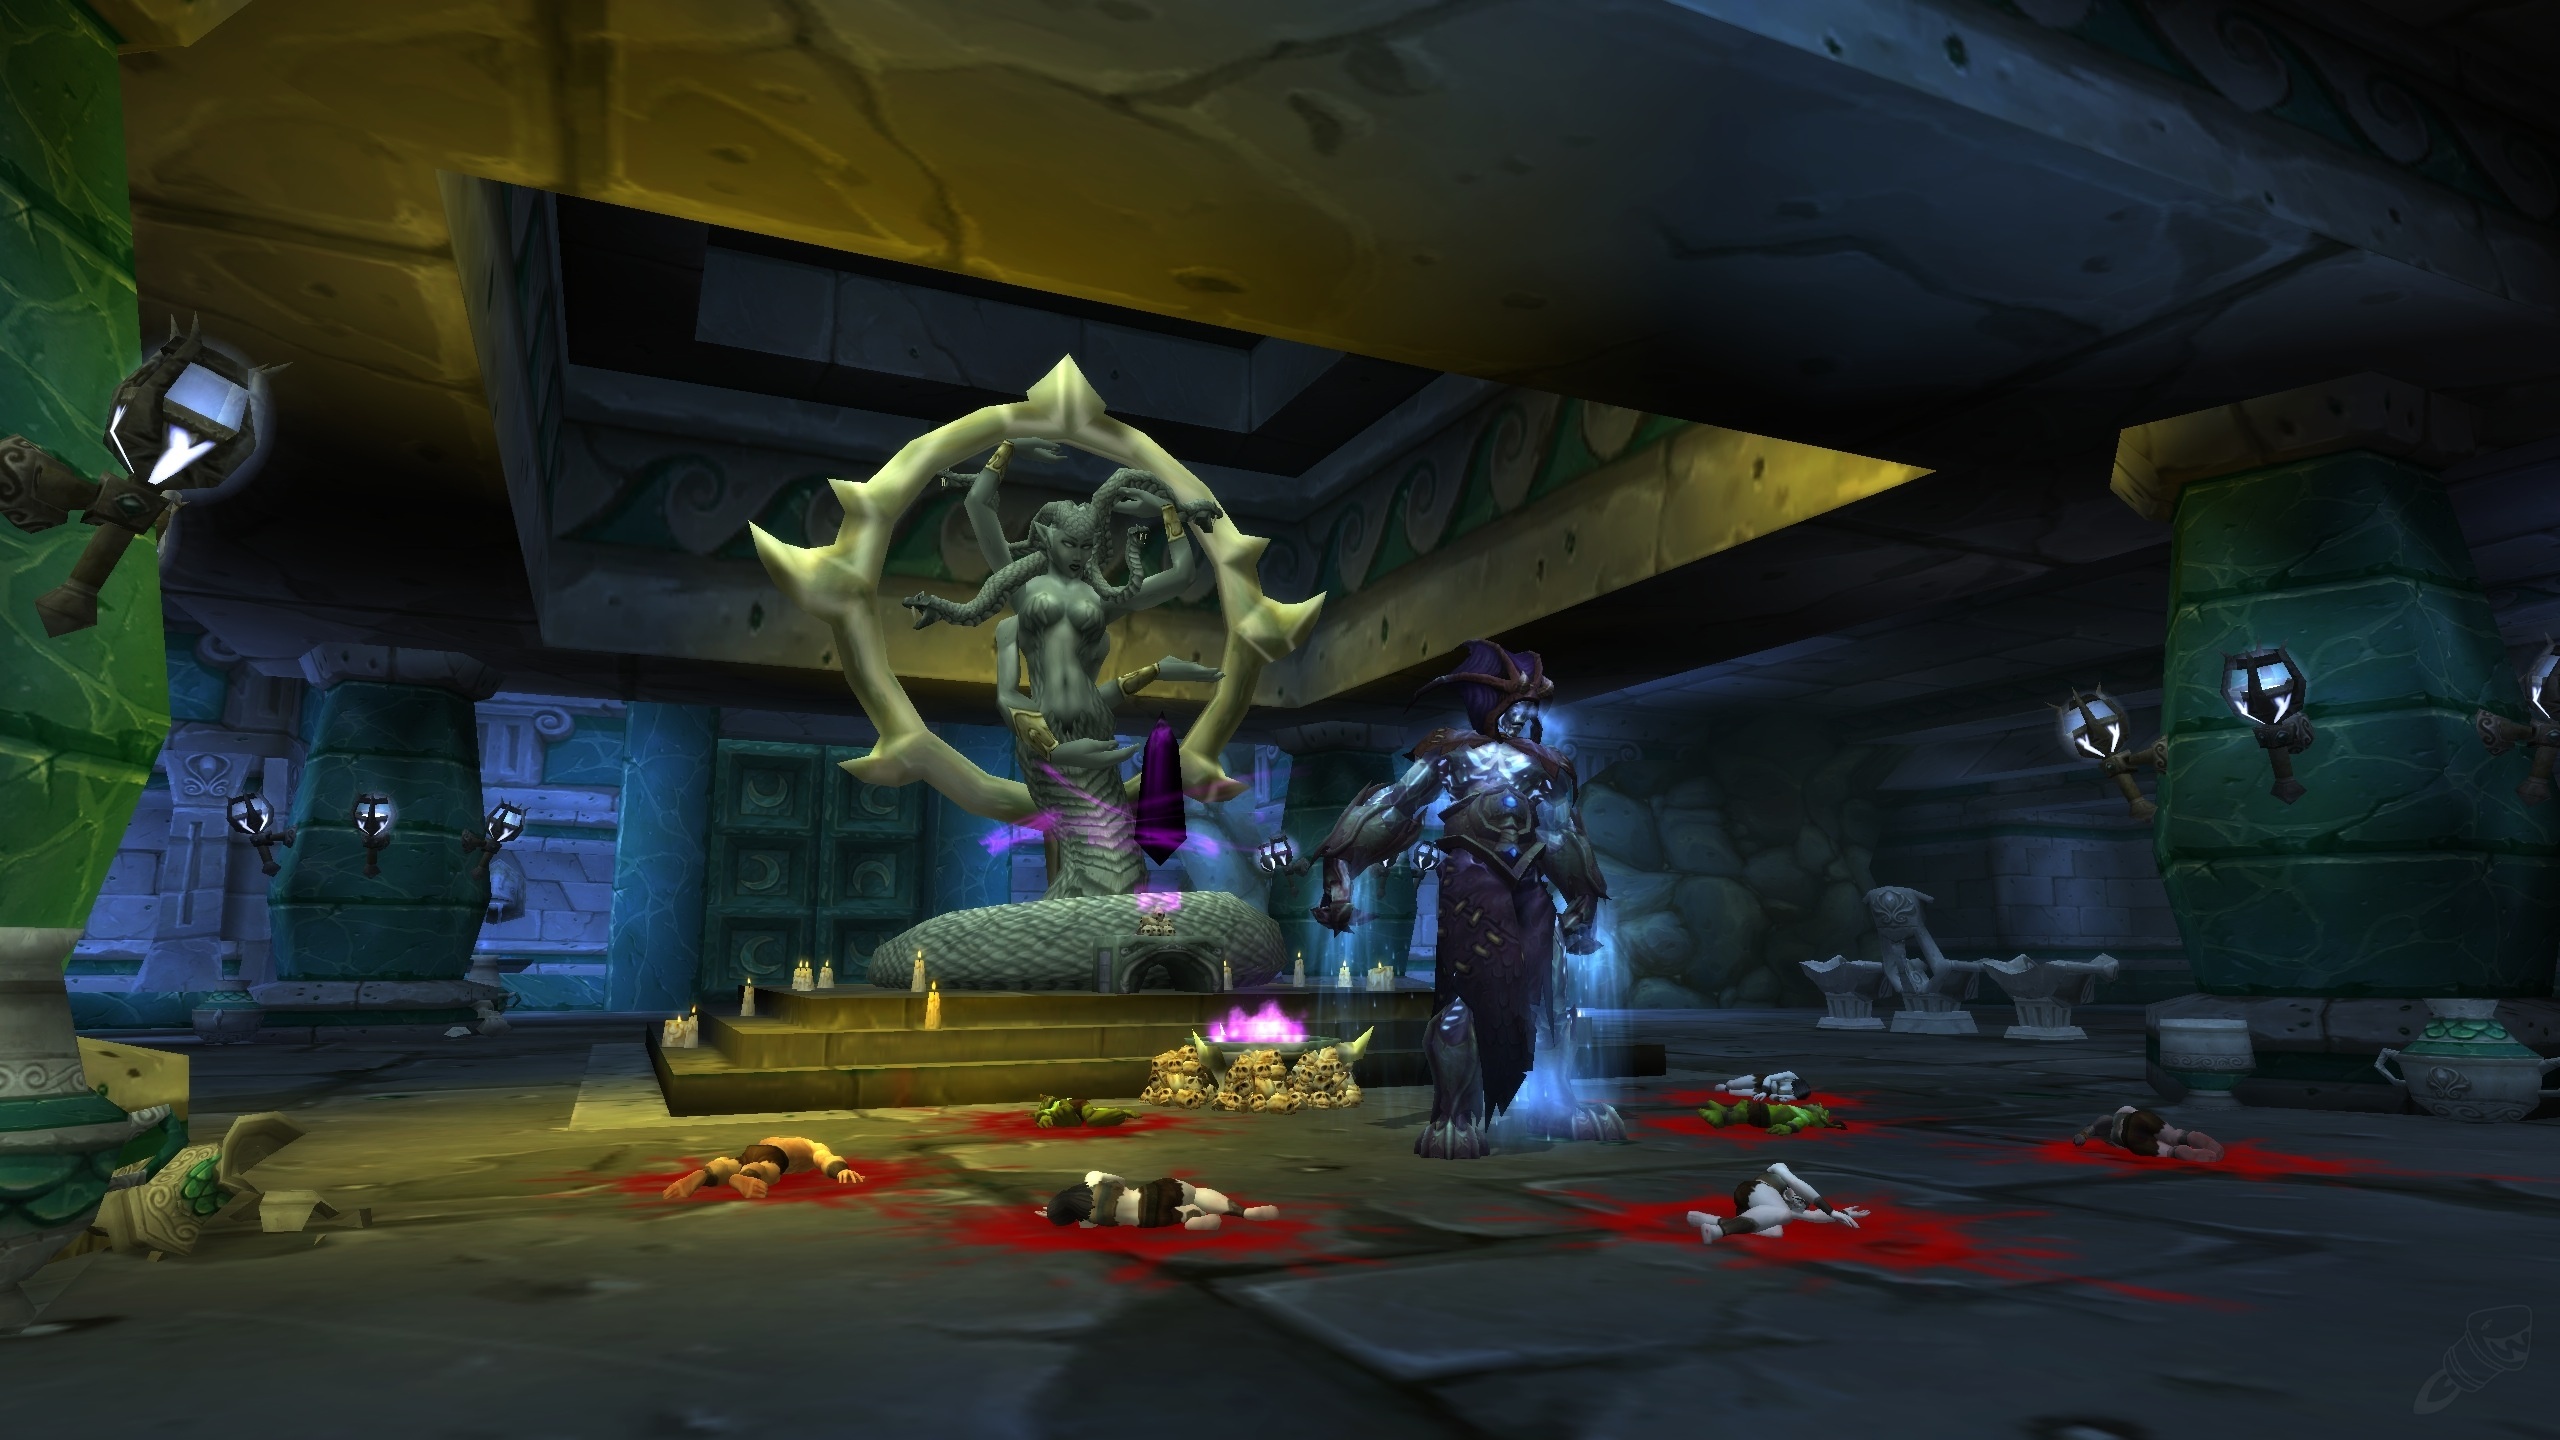
Gelihast in Blackfathom Deeps
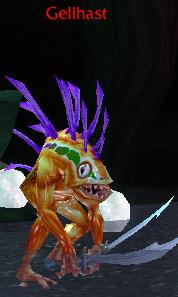
Gelihast is the fourth boss in the Wailing Caverns during the Season of Discovery in World of Warcraft Classic. He is a shadowy murloc caster who worships a dark pearl and guards a legion of eggs.
Primary Abilities of Gelihast
1. Blackfathom Curse: Increasing damage curse, must be dispelled.
2. Shadow Shockwave: Creates a purple grid on the ground and launches a crescent-shaped shadow beam. Players must move out of the grid to avoid damage.
3. Shadow Strike: Applies this debuff to its current target, increasing shadow damage taken per stack.
4. Fear: Applies fear to a random target, causing them to flee in terror. Lasts 4 seconds, dispellable.
5. Murloc March: Summons an army of murlocs that swarm the room.
6. Earth Rupture: Summons Blackfathom Tendrils that deal melee damage and cast Mind Flay.
Gelihast Strategy

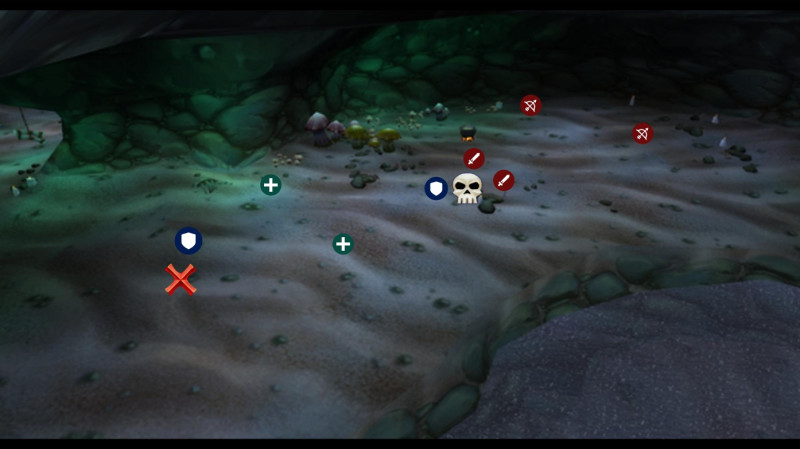
- The main tank should lead Gelihast to the center of the room while the raid spreads out to avoid Shadow Shockwave.
- The main tank will receive stacks of Shadow Strike; the off-tank should taunt after two stacks to mitigate incoming damage.
- Healers should dispel Fear, and DPS should focus on damaging Gelihast.
- When Gelihast reaches 10% HP, he will run to an altar and start channeling to recover health. Avoiding Murloc March is crucial at this point as shadow murlocs will appear.
- After the recovery, the initial phase repeats. Manage Shadow Strike, dispel Blackfathom Curse, and avoid Shadow Shockwave.
- Upon reaching 10% HP again, Gelihast will run to the altar to recover, but this time, Blackfathom Tendrils will also appear. DPS should quickly switch to the Tendrils and then return to the boss.
- Handling Murloc March and the Tendrils is key to overcoming this phase and defeating Gelihast.
Tips
1. Tanks:
- Monitor stacks of Shadow Strike.
- Taunt after two stacks to mitigate damage.
- Avoid Shadow Shockwave and position the boss in the center.
2. Melee DPS:
- Avoid Shadow Shockwave.
- Quickly switch to the Tendrils during the final phase.
3. Ranged DPS:
- Avoid Shadow Shockwave.
- Quickly switch to the Tendrils during the final phase.
4. Healers:
- Dispel Fear promptly.
- Keep the main tank well-healed during Shadow Strike stacks.
- Attend to damage from Murloc March and the Tendrils.
By following this strategy and applying these tips, your raid will be better prepared to face Gelihast in Blackfathom Deeps. Good luck in the battle!
Lorgus Jett in Blackfathom Deeps
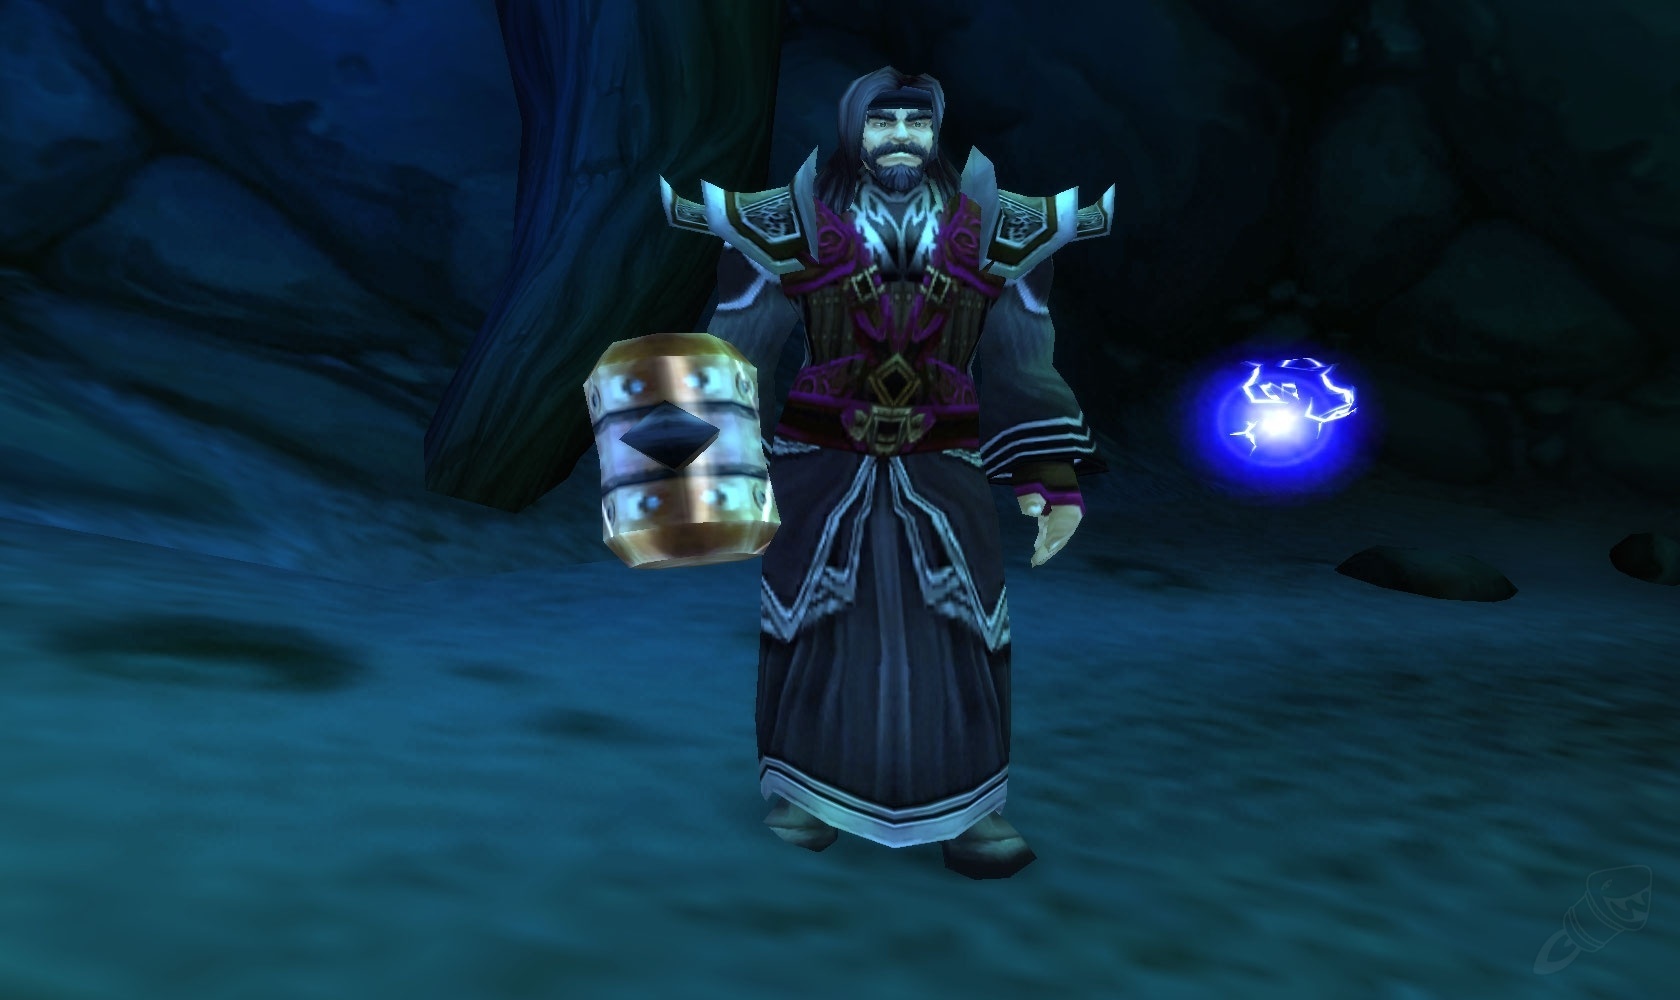
Lorgus Jett is the fifth boss in the Wailing Caverns during the Season of Discovery in World of Warcraft Classic. He is a Twilight cultist leading a group of Naga and Murlocs on the hill before confronting the players.
Primary Abilities of Lorgus Jett
1. Corrupt Lightning Shield Totem: Summons a totem that enhances Lorgus Jett with a thorn-like effect, dealing damage to those who attack him.
2. Corrupt Windfury Totem: Summons a corrupt Windfury totem, allowing Lorgus Jett to perform multiple attacks in a single instance.
3. Corrupt Earth Fury Totem: Summons a totem that creates a burning rock tracking players and dealing damage upon impact.
Lorgus Jett Strategy
- Start the fight by pulling the Naga and quickly DPS them down while managing the approaching waves of Murlocs.
- After eliminating the third group of Naga, Lorgus Jett will engage. Clear out any remaining Murlocs.
- Lorgus Jett will summon three totems in a set order: Corrupt Windfury Totem, Corrupt Lightning Shield Totem, and Corrupt Earth Fury Totem.
- Prioritize the Corrupt Lightning Shield Totem: It should be taken down as soon as it appears. Switch to it, burn it down quickly, and then return to the boss.
- Ignore the other two totems, but avoid the rock from the Corrupt Earth Fury Totem.
- Keep the tank topped off during attacks enhanced by the Corrupt Windfury Totem.
- At 10% health, Lorgus Jett will run to the altar to recover. Avoid the rock and the Murlocs that appear during this phase.
- Repeat the initial phase. Handle the totems, avoid the rock, and deal with the Murlocs.
- In the final phase, several Blackfathom Tendrils will appear. Quickly switch to them before returning to the boss.
Tips
1. Tanks:
- Monitor stacks of Shadow Strike.
- Taunt when necessary and avoid the molten rock.
- Don't get too close to the boss to prevent multiple Windfury hits.
2. Melee DPS:
- Avoid the molten rock and help quickly eliminate the totems.
- Switch to the Tendrils during the final phase.
3. Ranged DPS:
- Avoid the molten rock and help quickly eliminate the totems.
- Switch to the Tendrils during the final phase.
4. Healers:
- Keep the tank topped off during attacks enhanced by Windfury.
- Dispel any negative effects that may affect the tank.
- Avoid the molten rock and pay attention to the Tendrils during the final phase.
By following this strategy and applying these tips, your raid will be better prepared to face Lorgus Jett in Blackfathom Deeps. Good luck in the battle!
Twilight Lord Kelris in Blackfathom Deeps
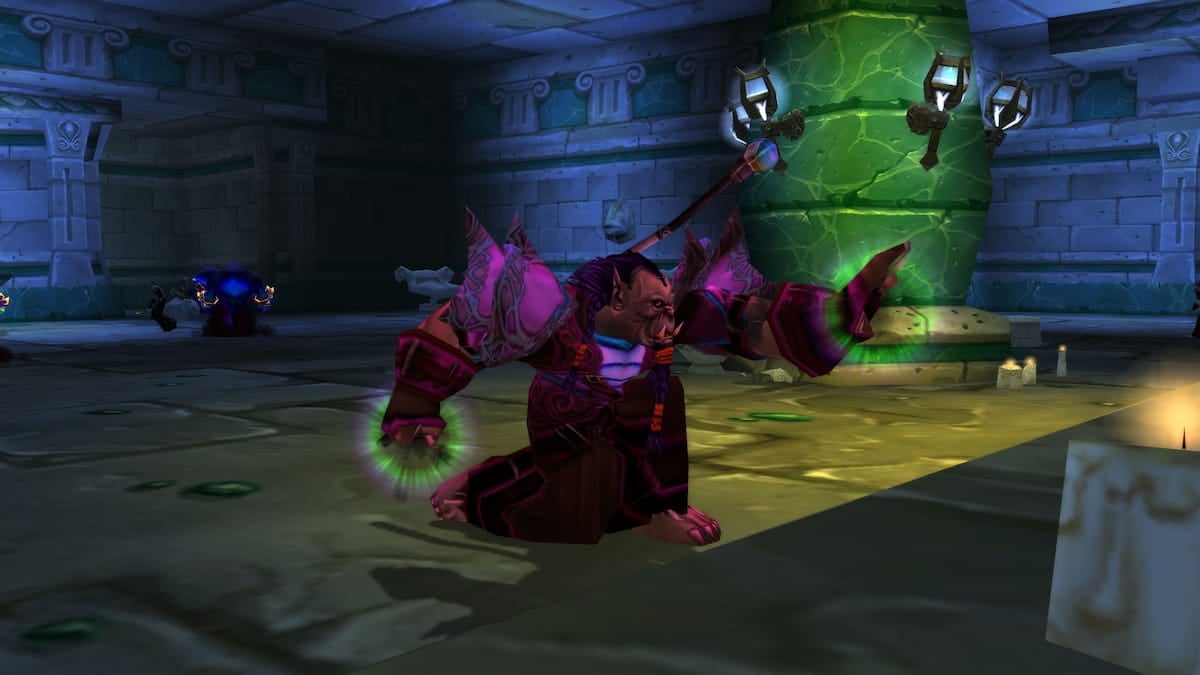
Twilight Lord Kelris is the sixth boss in the Wailing Caverns during the Season of Discovery in World of Warcraft Classic. This powerful Twilight cultist orc leads the battle from the altar of Azshara, offering a two-phase fight.
Twilight Lord Kelris's Primary Abilities
1. Mind Blast: Shadow damage spell cast in 1.5 seconds targeting the second-highest threat player. Interruptible until phase 2.
2. Shadow Chains: Shadow damage spell cast in 1.5 seconds that chains to nearby players, dealing damage and applying a magical DoT that must be cleansed. Interruptible until phase 2.
3. Shadow Strike: Fires a shadow bolt at the target player, causing damage and leaving a harmful shadow magic pool. Avoidable by staying out of the reticle.
4. Sleep: The two players closest to Twilight Lord Kelris are sent to the dream realm, removing them from the battle until they find a way to escape.
5. Enrage: At 35% health, Kelris absorbs the invading nightmare, gains a damage buff, and becomes uninterruptible.
Twilight Lord Kelris Strategy
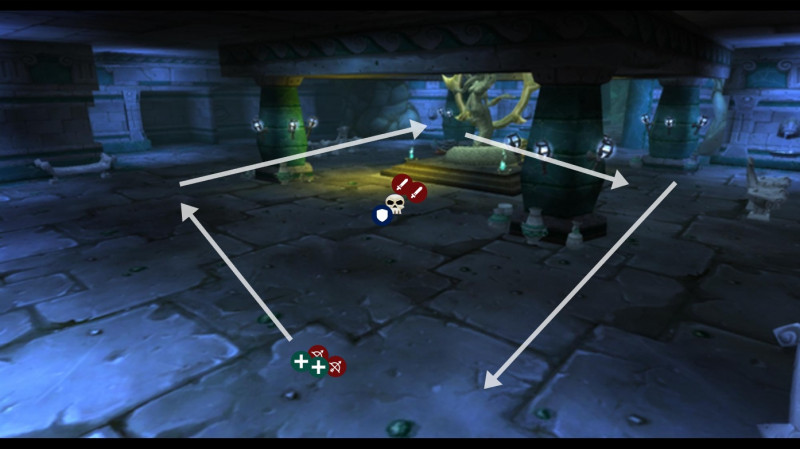
- Initiate the fight by positioning the tank and the raid appropriately. The tank should move to tank the boss while ranged players group up and melee players position themselves as needed.
- Precisely interrupt Kelris's abilities: Mind Blast and Shadow Chains. Assign specific roles for each interruption.
- Beware of Shadow Strike and avoid staying within its reticle to minimize damage received.
- Every eight seconds, two players will be affected by Sleep and sent to the dream realm. They must kill priestesses to return to the normal world.
- Players in the dream realm must hurry, as they have 30 seconds before the priestesses become hostile.
- Avoid killing Invading Nightmares unless necessary to reduce Kelris's damage in phase 2.
- When Kelris reaches 35% health, phase 2 begins. The raid should spread out, and tanks should stack melee players in pairs.
- In phase 2, Kelris is uninterruptible, and his damage significantly increases. Use mitigation abilities and shadow protection potions to survive.
- Healers should conserve mana for phase 2 and quickly dispel Shadow Chains on players.
10. After phase 2, return to the normal phase and repeat the cycle until Kelris is defeated.
Tips
1. Tanks:
- Move the boss to align Shadow Strike and manage interruptions.
- If affected by Sleep, return quickly and realign the boss.
2. Melee DPS:
- Ensure precise interrupts and avoid Shadow Strike damage.
- Be quick to kill priestesses if selected for Sleep.
3. Ranged DPS:
- Watch for reticles and avoid Shadow Strike.
- In phase 2, disperse to minimize damage.
4. Healers:
- Conserve mana for phase 2 and quickly dispel Shadow Chains.
- Keep players affected by Sleep in mind and be ready to heal them upon their return.
Following this strategy and applying these tips, your raid will be better prepared to face Twilight Lord Kelris in Blackfathom Deeps. Good luck in the battle!
Aku'mai in Blackfathom Deeps
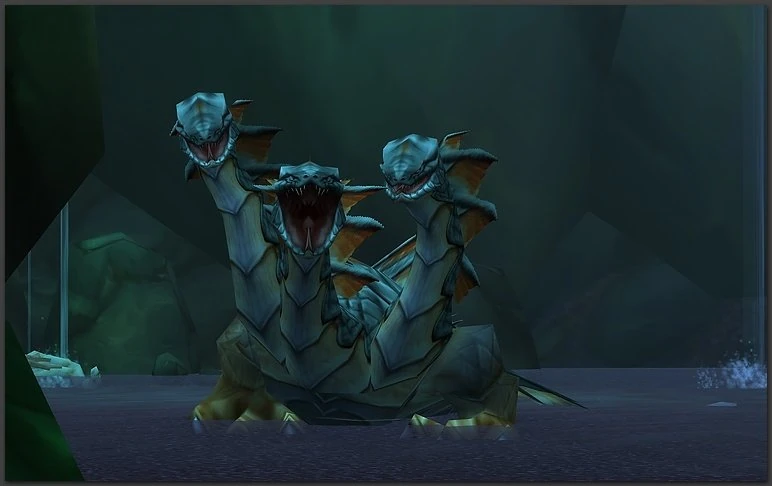
Aku'mai is a massive hydra that guards its clutch of shadowy eggs in the Wailing Caverns during the Season of Discovery in World of Warcraft Classic. This hydra presents unique abilities in both phases of the encounter.
Aku'mai's Main Abilities (Phase 1):
1. Bite of Hatred: Aku'mai bites the highest threat target other than the current tank.
2. Corrosion: Stackable debuff causing 50 damage every 3 seconds and applied with other abilities.
3. Corrosive Bite: Bite that applies stacks of Corrosion.
4. Corrosive Explosion: Channels a corrosive breath in a direction, applying stacks of Corrosion to affected players.
Transition to Phase 2:
1. Dark Protection: At 50% health, Aku'mai reduces damage taken by 99%, preparing for the phase transition.
Aku'mai's Main Abilities (Phase 2):
1. Shadow Filtration: Stackable debuff reducing maximum HP by 10% and increasing shadow damage taken by 25%.
2. Void Fang: Replaces Corrosive Bite, applying a stack of Shadow Filtration.
3. Void Explosion: Replaces Corrosive Explosion, applying stacks of Shadow Filtration.
Mechanics:
1. Purification Pool: Pools that cleanse Corrosion or Shadow Filtration but summon small elementals when corrupted.
Aku'mai Strategy:
1. Initial Positioning:
- Tank: Position Aku'mai near a Purification Pool for easy cleansing.
- Melee and Ranged DPS: Form a tight circle around the tank.
2. Phase 1:
- Tank accumulates Corrosion and moves to Purification Pool to cleanse, generating adds.
- DPS quickly kills adds while avoiding Corrosive Explosion.
- Repeat until Aku'mai reaches 50% health.
3. Transition:
- Tank keeps Aku'mai's attention while preparing for the transition.
- DPS continues eliminating adds and avoiding Corrosive Explosion.
4. Phase 2:
- Tank accumulates Shadow Filtration and cleanses in the Purification Pool.
- DPS avoids Void Fang and Void Explosion.
- Raid disperses to reduce Void Explosion damage.
- Continue until Aku'mai is defeated.
Role-Specific Tips:
Tanks:
- Position near Purification Pools for efficient cleansing.
- Gather and maintain threat on adds generated during cleansing.
- Use defensive abilities when accumulating Shadow Filtration.
Melee and Ranged DPS:
- Avoid accumulating Corrosion and Shadow Filtration.
- Quickly eliminate adds generated during cleansing.
- Disperse during Void Explosion in Phase 2.
Healers:
- Monitor tank accumulating Corrosion and Shadow Filtration.
- Prioritize healing during Corrosive Explosion in Phase 1 and Void Explosion in Phase 2.
- Keep the raid healthy during the phase transition.
Following this strategy and applying specific tips for each role, your raid should be well-prepared to face Aku'mai in Blackfathom Deeps. Good luck in the battle!
Quest in Blackfathom Deeps Level-Up Raid
The Blackfathom Deeps Raid includes several associated quests that provide rewards in terms of reputation and gear.
Note: All quests have both Alliance and Horde versions. Further details will be added as they become available in our database.
1. [The Heart of the Void] or [The Heart of the Void]
- Minimum level: 25
- Quest Starts: Dropped by Aku'mai
- Quest Ends: Bashana Runetotem in Thunder Bluff at /way 70.8 33.8 or Selgorm Guardalbas in Darnassus at /way 56.0 24.6
- Reputation Gains: Thunder Bluff, Orgrimmar, and Undercity 200 points each, or Ironforge 200 (likely includes Darnassus and Stormwind rep as well)
The dread beast Aku'mai lies dead. Hidden amidst the viscera and gore of its swollen corpse is an enormous iridescent pearl teeming with raw Void energy.
Reward Choice:
- Acolyte's Pearl of the Void
- Summoner's Pearl of the Void
- Avenger's Pearl of the Void
2. [Baron Aquanis] or [Baron Aquanis]
- Minimum level: 25
- Quest Starts: Horde drop from Baron Aquanis or Alliance Davius Stardecker in Darkshore at /way 36.8 43.6
- Quest Ends: Je'neu Sancrea in Ashenvale at /way 11.6 34.2 or Davius Stardecker in Darkshore at /way 36.8 43.6
- Reputation Gains: Blackfathom Trolls 150 points, Thunder Bluff or Darnassus, Stormwind, and Ironforge 150 points
Bring the Strange Water Globe to Je'neu Sancrea at Zoram'gar Outpost, Ashenvale.
or
Bring the Strange Water Globe to Davidus Voidstar in Auberdine, Darkshore.
Rewards:
Horde: Forlorn Dagger, Witching Stave
Alliance: A portal from Auberdine to Zoram Strand.
3. [Blackfathom Villainy] or [Blackfathom Villainy]
- Minimum level: 25
- Quest Starts: Argent Guard Thaelrid in Blackfathom Deeps
- Quest Ends: Bashana Runetotem in Thunder Bluff at /way 70.8 33.8 or Selgorm Guardalbas in Darnassus at /way 56.0 24.6
- Reputation Gains: Argent Dawn 200 points, Thunder Bluff or Darnassus 200 points
Bring the head of Twilight Lord Kelris to Bashana Runetotem in Thunder Bluff.
or
Bring the head of Twilight Lord Kelris to Dawnwatcher Selgorm in Darnassus.
Reward Choice:
- Inscribed Lapidarist's Scepter
- Ancient Artifact Shield
4. [Knowledge in the Deeps]
- Minimum level: 25
- Quest Starts/Ends: Gerrig Bonegrip in Ironforge at /way 50.6 6.2
- Reputation Gains: Ironforge 50 points
Bring the Lorgalis Manuscript to Gerrig Bonegrip in the Forlorn Cavern in Ironforge.
Reward:
- Eternal Stonekeeper's Ring
5. [Twilight Falls]
- Minimum level: 25
- Quest Starts/Ends: Argent Guard Manados in Darnassus at /way 55.2 23.6
- Reputation Gains: Argent Dawn and Darnassus 150 points each
Bring 10 Twilight Pendants to Argent Guard Manados in Darnassus.
Reward Choice:
- Nimbus Boots of Insight
- Stalwart Clutchbelt
6. [Researching the Corruption]
- Minimum level: 25
- Quest Starts/Ends: Gershala Nightwhisper in Auberdine at /way 38.4 43.0
- Reputation Gains: Darnassus 150 points
Gershala Nightwhisper in Auberdine wants 8 Corrupt Brain stems.
Reward Choice:
- Snapping Basilisk Bracers
- Threadbare Gloves
7. [Loyalty to the Old Gods]
- Minimum level: 25
- Quest Starts/Ends: Je'neu Sancrea in Ashenvale at /way 11.6 34.2
- Reputation Gains: Blackfathom Trolls 150 points
Kill Lorgus Jett in Blackfathom Deeps and then return to Je'neu Sancrea in Ashenvale.
Reward Choice:
- Ironspine's Eye Ring
- Frayed Cloak of the Ancients