
Today I bring you a complete, step-by-step guide to help you complete the Valentine’s Day 2026 update quest without getting lost at any point. In this guide, you’ll discover how to unlock exclusive emblems, secret animations, and all the hidden content this special event has to offer.
Get ready, because this mission will test your patience, memory, and precision, but with this guide you’ll have everything you need to complete it successfully.
You may be interested our Guide:
- Everything New in the Valentine’s Update
Valentine’s Day 2026 Quest Start
To begin, it’s important to know that the Valentine’s Day 2026 quest is very similar to the 2025 quest, so if you participated in the previous event, you’ll likely recognize several mechanics and locations.
To start the mission, first head to the Teleport section located at the bottom left of your screen. From there, select any Valentine’s Quest server to begin the adventure.
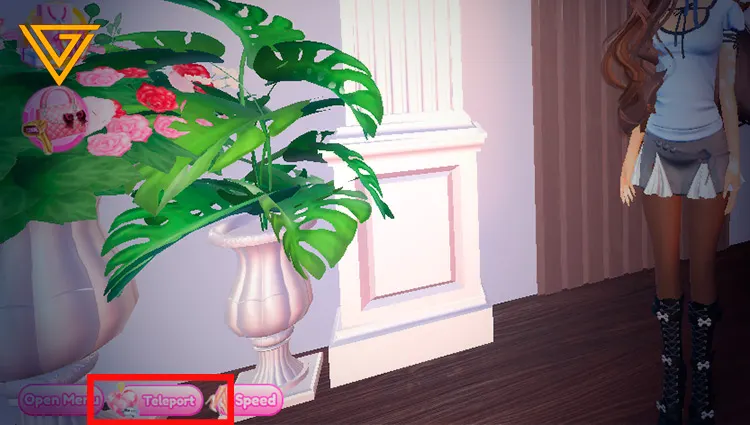
bottom teleport

Valentine’s Quest server
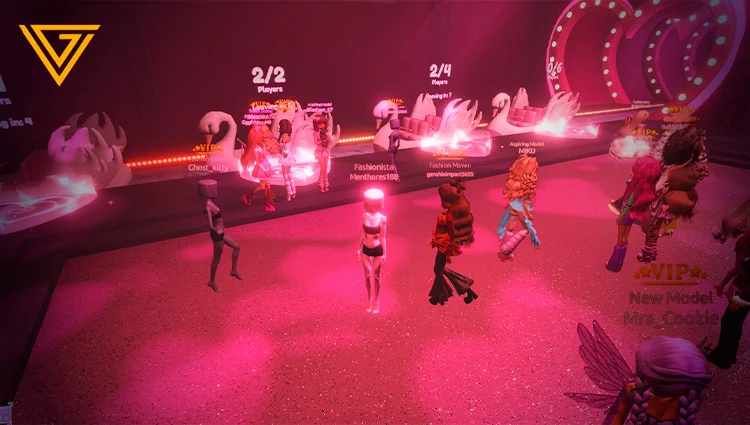
Once inside, you’ll find other players and two water paths clearly marked as Chapter I and Chapter II. In both paths, you’ll see swan-shaped boats, which allow you to choose whether you want to play solo or in a group of up to four players.
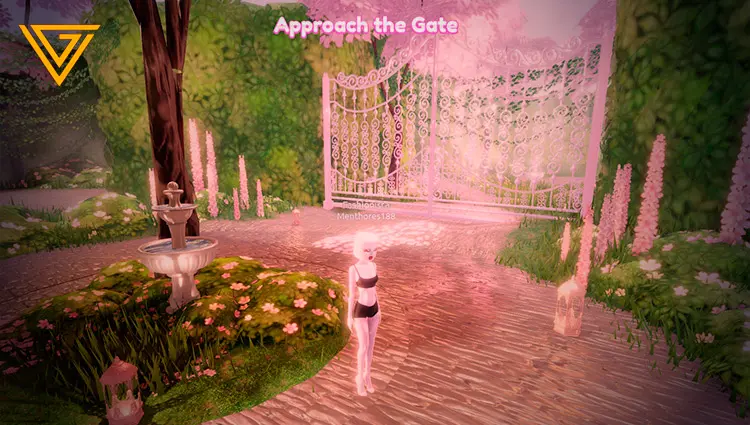
After boarding the boat and once the countdown reaches zero, you’ll be teleported to a garage. There, approach the main gate, which will automatically trigger a cinematic featuring Cupid. This scene can be skipped without any issues, allowing you to continue directly with the quest.
Chapter I
Brewing Potions
After finishing Cupid’s cinematic, follow the path marked with an arrow until you reach the potion area, where you will begin the first activity of the Valentine’s Day 2026 quest. In this area, you’ll meet Harht, who will give you the initial instructions.
The first task consists of:
- Brewing the correct potions
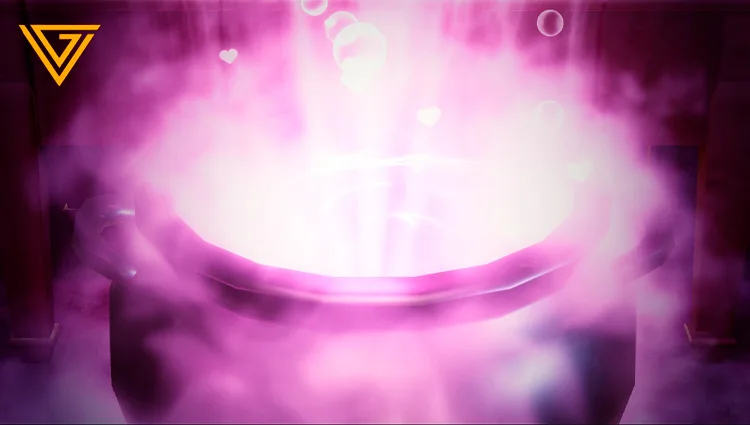
- Placing them into the main cauldron
- Completing a minimum number of potions before the time runs out
Note: If you’re playing solo, you’ll usually be asked to prepare three potions.
The type of bottle you use doesn’t matter what’s important is finishing on time and delivering each mixture to the cauldron next to Harht.
How to brew the potions correctly
In the central circle of the room, you’ll find six small cauldrons, each displaying two specific potions. These indicate the exact combinations you must use to create the perfect mixture.
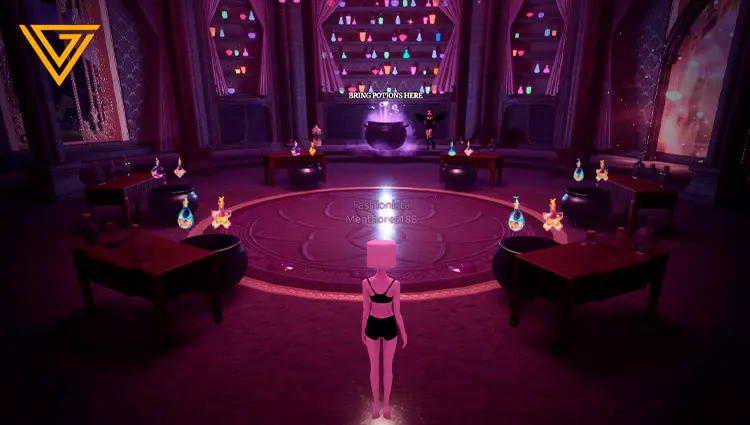
Tip: pay close attention to which potions appear in each cauldron. You can take a photo with your phone or another device so you don’t forget the combinations.
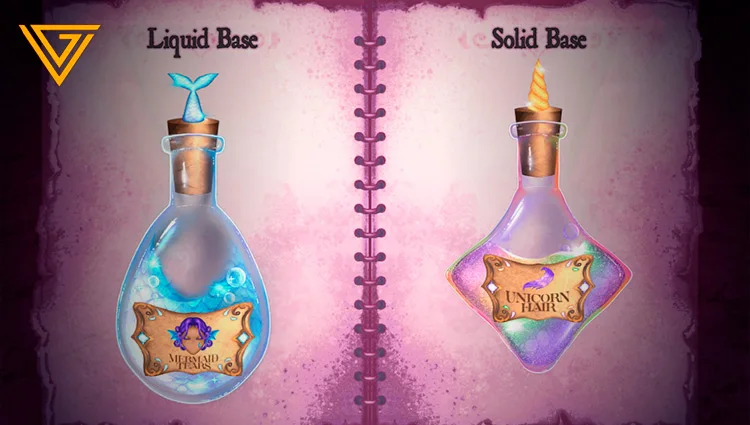
Once you understand the correct combinations, start the brewing process. Several potions will appear, and you’ll need to choose one of the two potions shown at the beginning. After selecting the correct potion, you’ll have to complete small mini-games to successfully brew it.
When you’re done, choose any bottle (it doesn’t matter which one) and pour the mixture into the main cauldron located next to Harht.
You’ll need to repeat this process as many times as the game requires. If you selected the single-player swan, you’ll only need to prepare three potions, but the number increases when playing with more players.
All of this must be completed within a time limit. If you manage to create the required number of mixtures in time, a portal will open, allowing you to move on to the second activity of the quest.
Grab every exclusive item, get your Permanent VIP now!!
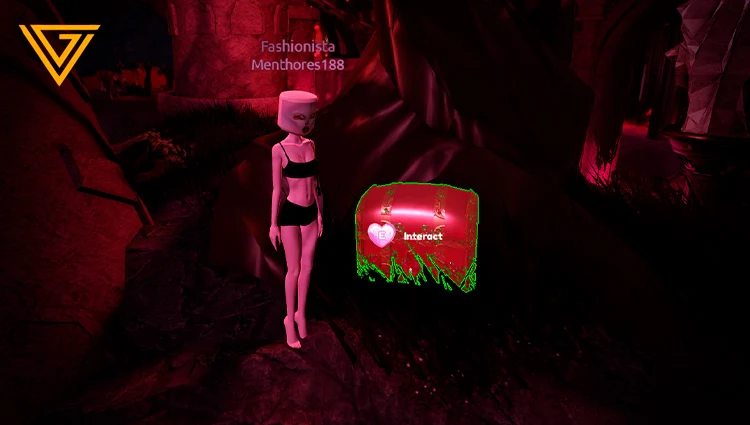
Secret Cauldron
Now I’m going to show you how to activate a secret door that allows you to unlock a hidden scene and a special emblem.
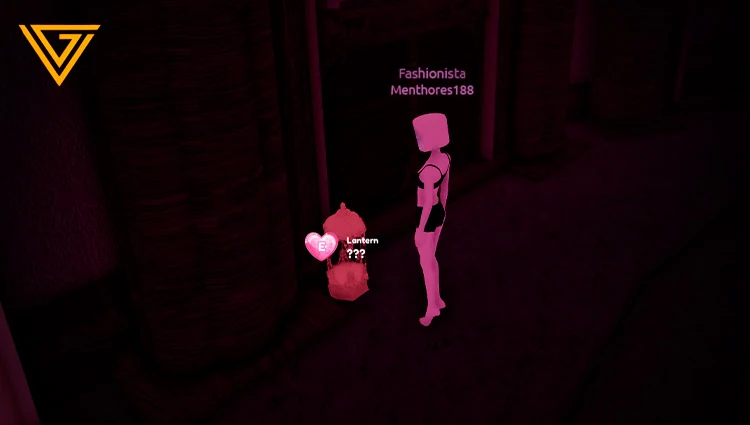
Inside the potion room, you’ll find lamps located in the corners. You must turn on all of them. Once every lamp is activated, return to the entrance of the potion room, where you’ll notice a new path has opened.
This path will lead you to a secret cauldron, where you must mix several potions in the correct order, so pay close attention.
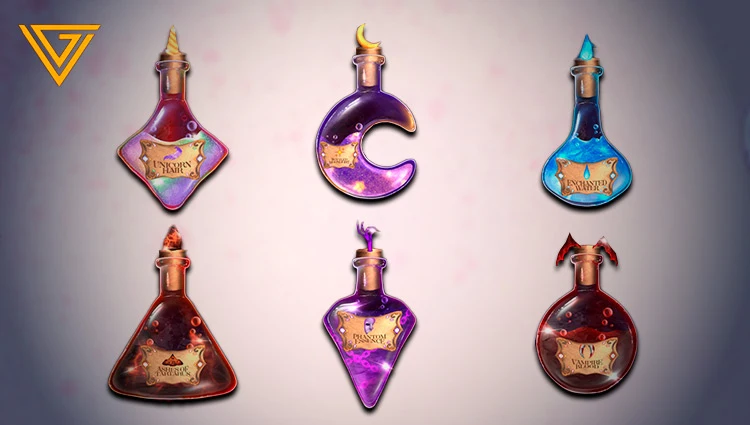
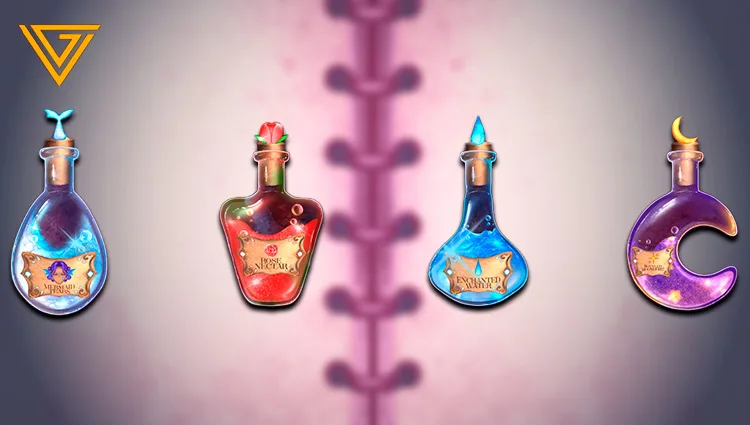
The potion order is the following:
- Water potion
- Moon-shaped potion
- Vampire blood potion
- Purple Phantom potion
- Ashes potion
- Unicorn hair potion
Once all the potions have been added, stir the cauldron. If everything was done correctly, you will unlock a secret emblem as a reward.
Shooting the Hearts
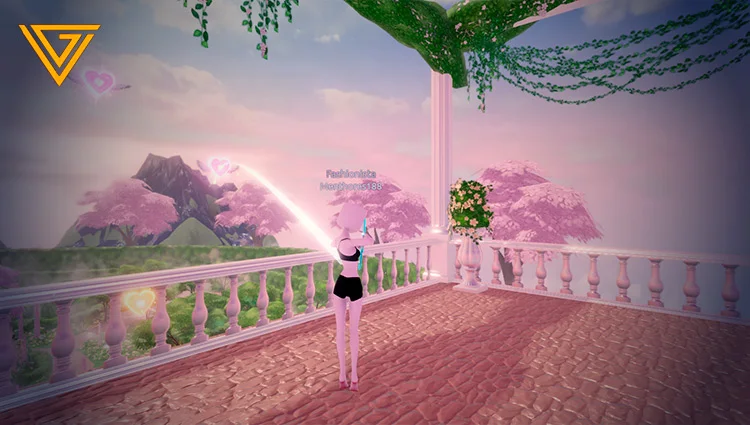
Once you pass through the portal, you’ll find yourself on a balcony where you must shoot down floating hearts. These hearts award points that are used to fill the side progress bar. You’ll encounter two types of hearts: pink and golden. Always prioritize the golden hearts, as they give more points.
Tips:
- Don’t aim directly at the heart
- Aim at where the heart is going to be
- Watch its movement pattern to predict its path
Giant Heart in the Garden
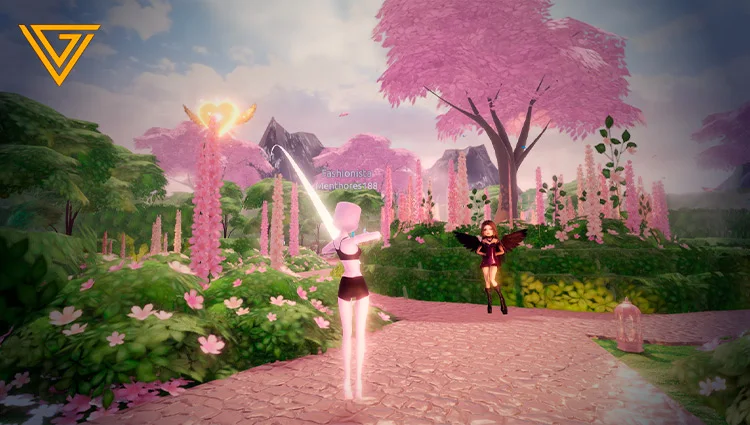
After filling the side progress bar, you’ll face another heart that is faster and follows a longer movement pattern. This giant heart will move in circles around the center of the garden.
My recommendation is to carefully calculate where it will pass and wait for it to come close to you before shooting. Don’t panic or start firing randomly, as your chances of hitting it will be very low.
Once you destroy the giant heart, you’ll be teleported to Chapter II of the quest.
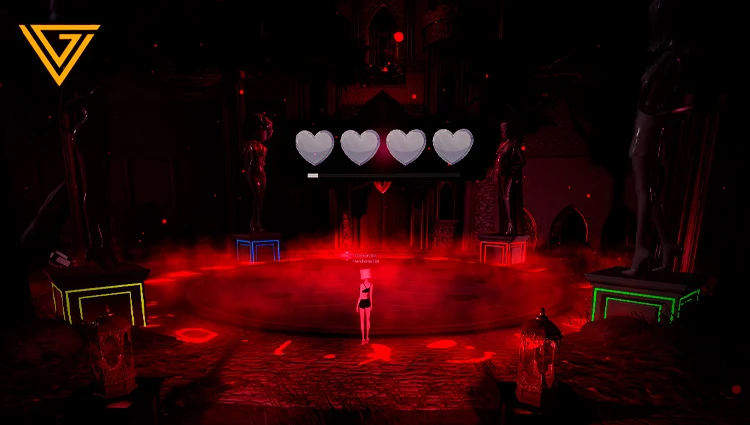
Chapter II: The Dark Islands and the Heart Locks
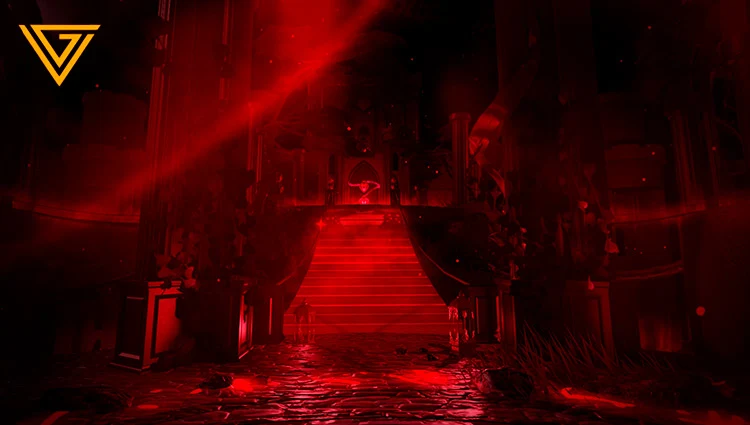
You are now officially in Chapter II, where you’ll arrive at a dark and eerie area made up of seven islands. At the center, you’ll find a main island with a large locked gate secured by three heart-shaped locks.
From this central island, there is a bridge on each side leading to additional islands. From there, you can choose between two different paths that will take you in search of four hidden chests. Each chest releases a heart, and every heart awakens one of the four statues located on the central island.
How to find the chests
To obtain each chest, you simply need to search for a hidden chest somewhere within the four different zones. These chests are usually easy to spot, as they tend to stand out from the environment.
To open each chest, you must complete memory-based mini-games, which will release the corresponding heart once completed. The islands are divided as follows:
- Dinner Island
- Greek Ruins Island
- Labyrinth Island
- Dark Forest Island
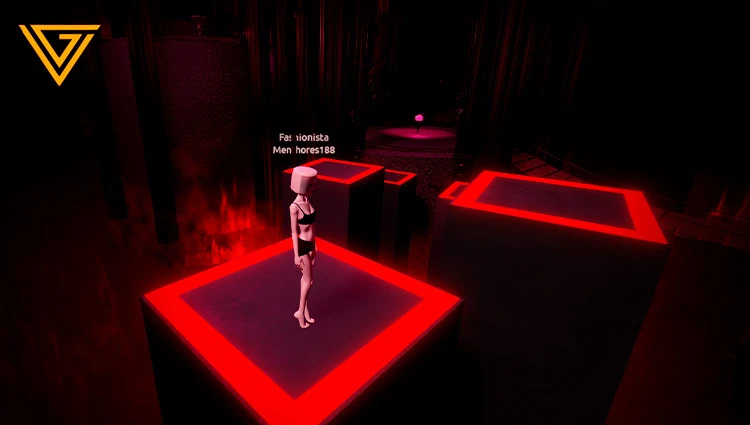
You can start with any island you choose. Once you’ve released all four hearts, return to the central island. There, you’ll notice that each statue represents a different color: yellow, red, blue, and green.
At the gate with the three heart locks, a screen will appear showing a color pattern. You must follow the displayed color sequence by interacting with the corresponding statues to unlock each lock.
Once you’ve unlocked all three heart locks, the gate will open, granting you access to the final challenge of the quest.
Final Challenge
Once you pass through the large gate, you’ll see that you must activate a series of lamps to open paths throughout the area. However, this is where the real challenge begins. If you’re not good at parkour, this section can be especially difficult, as the entire area is focused on platforming mechanics.
You’ll need to climb upward while navigating increasingly difficult obstacles, moving higher and higher until you reach the very top. There, you’ll unlock the final portal, officially completing the quest.
I genuinely wish you good luck in this final part, and keep in mind that there will be sudden camera changes throughout the challenge so don’t panic when they happen.