Old School RuneScape
OSRS Puppies Locations Guide
12 Sep 2026Read More


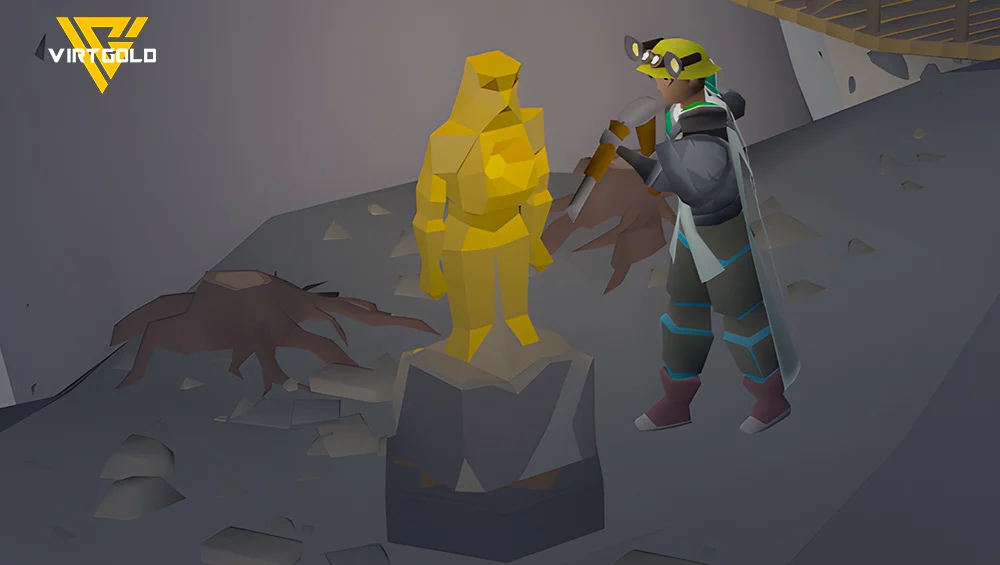
Learn how the new OSRS Crafting method from the Fallen From Grace update works. Discover the best gear, inventory setup, XP rates, Fur XP values, Golem rewards, and how to unlock the Jeweller's Chisel with this complete Wyrmscraig guide.
The July 29, 2026 update didn't just introduce the new Fallen From Grace quest to Old School RuneScape. It also added a brand-new Crafting training method that looks especially promising for Ironman accounts.
This activity combines Mining, Crafting, and a bit of Hunter to build golems for Crafting experience while giving players a chance to obtain the new Jeweller's Chisel. Much like the Fletching Knife, this upgraded tool offers permanent quality-of-life improvements over the standard chisel, making it a valuable unlock for anyone planning to train Crafting efficiently.
After spending a full hour testing the activity, I now have a solid understanding of how it works, the experience rates you can expect, and whether it's actually worth adding to your training rotation.

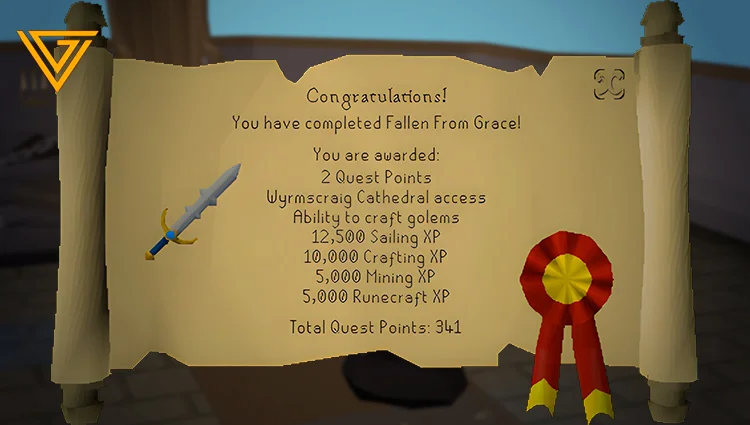
Before you can access this new Crafting activity, you'll need to complete the Fallen From Grace quest introduced in the July 29, 2026 update.
Finishing the quest unlocks a new teleport option on the Necklace of Passage, allowing you to travel directly to Wyrmscraig Island without having to sail there every time. This dramatically speeds up repeat trips, making the activity much more convenient for long training sessions.
You'll also need to meet the following requirement:
Tip: Once you've unlocked the Necklace of Passage teleport, getting back to Wyrmscraig becomes almost instant, so there's no reason to use the boat route again.
The good news is that this activity has very low gear requirements. While a few items can improve efficiency, none of them are mandatory, so even lower-level accounts and Ironmen can jump in without much preparation.
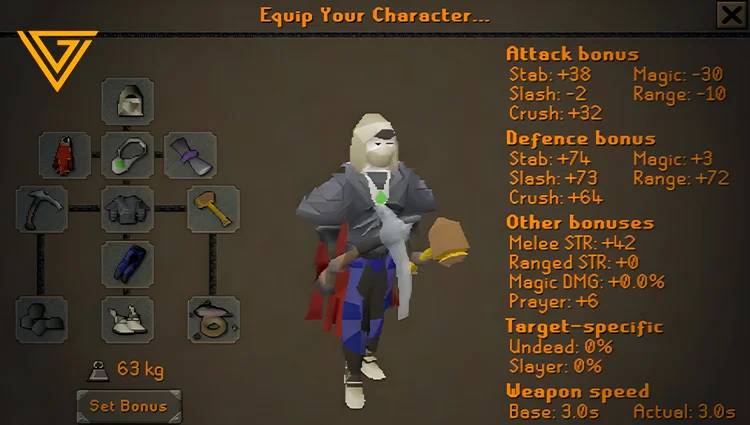
Good to know: If you don't own any of these upgrades, don't worry. You can comfortably complete the activity with a regular pickaxe and hammer.
Recommended Inventory Setup
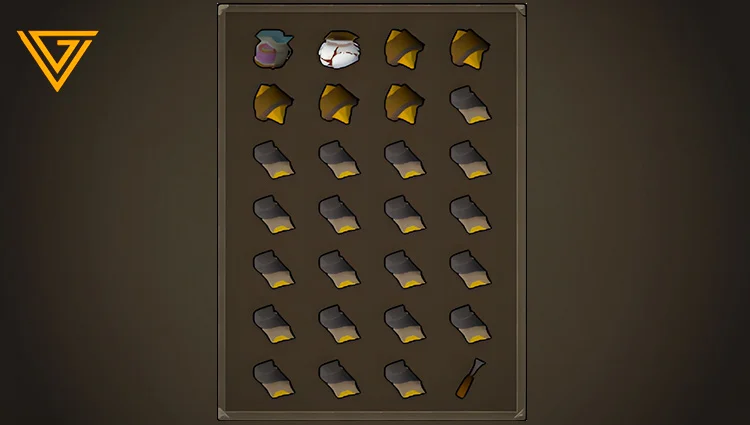
To maximize efficiency, keep your inventory as clean as possible.
Carry only the following:
The Hide Pouch is one of the biggest quality-of-life upgrades for this activity since it automatically stores the hides needed to complete each golem. Without it, you'll have to dedicate extra inventory space to carrying hides manually, reducing the number of crafting cycles you can complete per trip.
Keeping 25 inventory slots free is also important, as it allows you to collect a full inventory of materials before starting a complete golem-building rotation without unnecessary banking.
Want to gear up to face the new Maggot King boss easily and safely? Check out our CATALOG.
Once you've unlocked the activity, the gameplay loop is simple: mine Sunstone, carve a golem, add its core and fur, claim your reward, and repeat. After a few runs, the process becomes very rhythmic, making it an easy method to optimize.
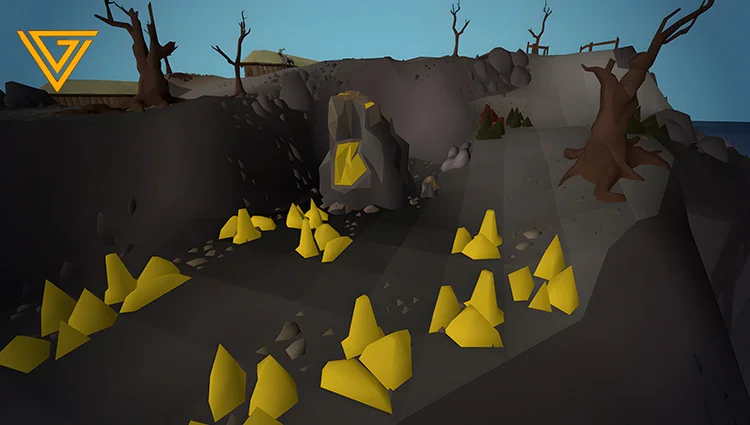
After teleporting to Wyrmscraig Island, head to the mining area.
You'll find two mining options depending on your playstyle:

 2 Rows
If you're trying to maximize your Crafting XP per hour, stick to the regular Sunstone Rocks. The Monolith is a solid alternative if you prefer a more relaxed training session.
Your goal is to fill your inventory with 25 Sunstone.
Once you've mined 25 Sunstone, it's time to start crafting.
Simply use your Chisel on a Sunstone to create a Sunstone Core.
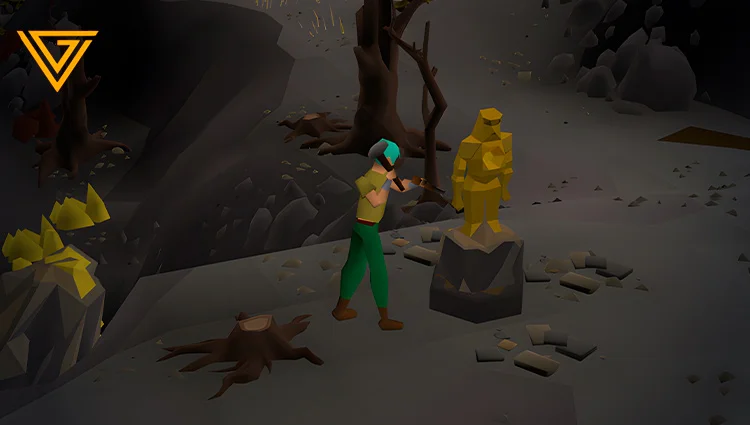
Head over to one of the crafting pedestals and interact with it.
Instead of instantly creating the golem, you'll need to sculpt it by carving each side until it's fully formed.
Complete all four directions:
Once every side has been carved, the golem is ready for its final components.
The last step is to bring the golem to life.
You'll need:
If you're carrying a Fur Pouch, the required fur is inserted automatically. Otherwise, you'll need to have the fur in your inventory and add it manually.
As soon as the golem activates, you'll immediately receive a reward.
Each completed golem can reward one of the following:
5 RowsThe Jeweller's Chisel is by far the most desirable reward, especially for Ironman accounts, since it's an untradeable upgrade that permanently improves gem cutting.
One mechanic that's easy to overlook is that a pedestal becomes temporarily unavailable after you finish a golem.
As long as that golem is still walking around the area, you can't use the same pedestal again.
To maintain the best XP rates, rotate between the available pedestals instead of waiting for one to reset. This keeps the crafting loop flowing smoothly and minimizes downtime, especially when the area is crowded with other players.
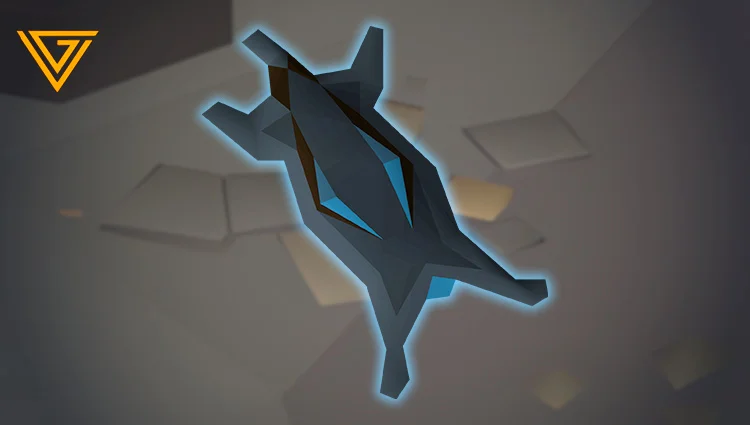
One mechanic that's easy to miss is that the type of Fur you use directly affects how much Crafting XP each golem awards.
If you're looking to maximize XP rates, choosing the right Fur is just as important as optimizing your mining and crafting rotation. Higher-tier furs grant significantly more experience per golem, making them the best choice if your goal is fast Crafting training.
Here's the full XP breakdown for every Fur currently available in the activity.
14 Rows
Get assistance from real gamers.

Join our partner network and grow with VirtGold.

sales@virtgold.com