5 MYSTERY GIFTS

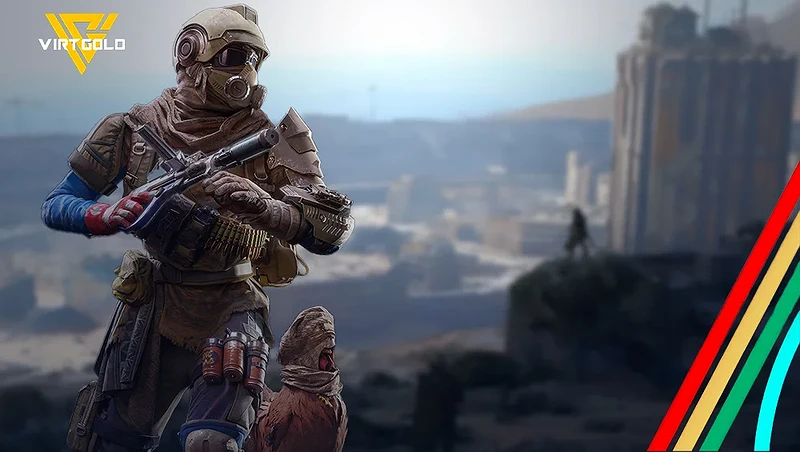
We’re running out of time to complete the Third Expedition in ARC Raiders, and if you’re looking for the fastest and most efficient way to finish it, this guide will save you a lot of playtime. Here, you’ll find a complete, optimized strategy based on real experience, with key tips to clear each stage as quickly as possible, along with recommended maps and game-changing tricks.
You may be interested our Guide:
- Every Weapon in ARC Raiders 2026
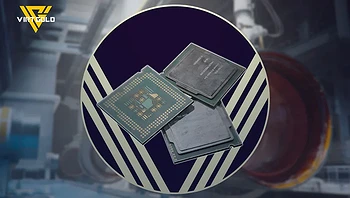
- Where to Find Processors
- Meta Weapons in ARC Raiders 2026
- Where to Find the Looting MK3 Survivor Blueprint
- ARC Raiders Riven Tides Update

What You Should Do Before Starting

Before diving into the details, there are two fundamental pillars you need to keep in mind:
- Max out your workbenches. Having your crafting stations at the highest level is essential, as it allows you to craft key items that will significantly speed up your expedition progress.
- Play in PvE lobbies. This is crucial for efficient farming. It lets you gather expedition materials without constantly worrying about running into aggressive players who might kill you and take your loot, allowing you to stay fully focused on your objectives.
- Choose the right map. While you can play on any map, some are clearly more efficient than others:
- Stella Montis → The best overall map (it has almost everything you need)
- Spaceport → Excellent for industrial loot
- Dam Battlegrounds → Ideal for specific farming zones
-
Buried City → Perfect for residential loot
Third Expedition in ARC Raiders
As we already know, expeditions are divided into different stages. Each stage requires you to collect specific materials in order to unlock the next one, with each phase becoming progressively more challenging than the last.
Stage 1
In the first stage, you’ll be dealing with the most common items in the game. Here are the materials you’ll need:
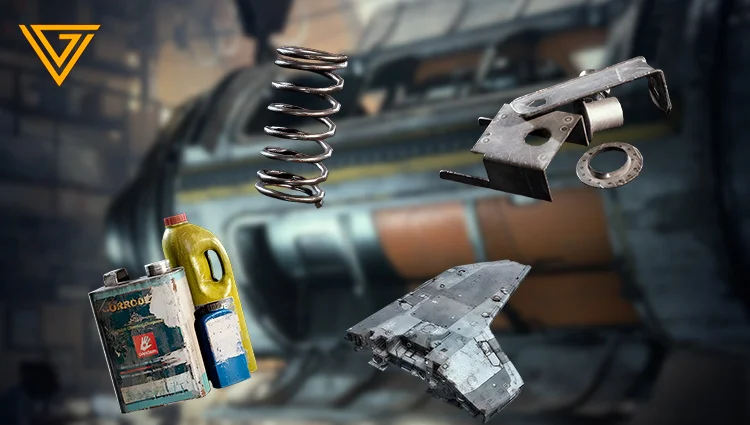
- Metal Parts x150
- Chemicals x100
- ARC Alloy x80
- Steel Springs x15
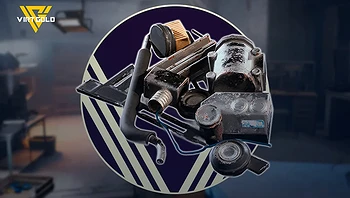
The most difficult item to obtain here is the Steel Springs. You can farm them efficiently by following a Rusted Tools route like the one shown in How to Get Steel Springs Easily, where you’ll find all 15 springs without much trouble.
As for Metal Parts and ARC Alloy, you can gather them easily by defeating ARCs and looting during your raids.
Stage 2
The second stage follows a similar pattern. You’ll still be collecting relatively common materials, although one item in particular can be a bit harder to obtain. To complete this stage, you’ll need:
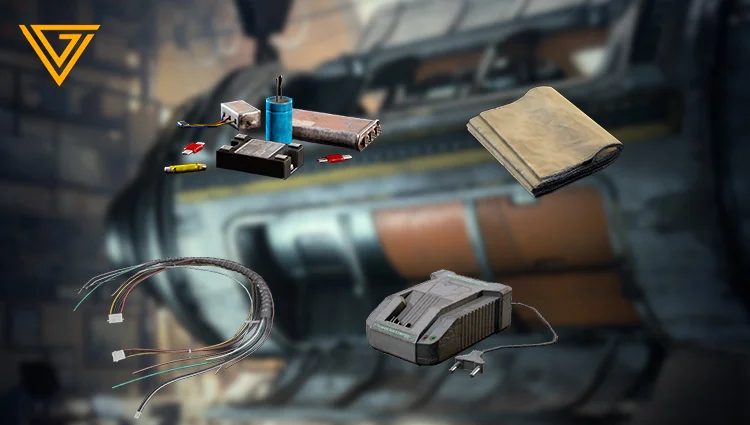
- Durable Cloth x30
- Wires x25
- Electrical Components x20
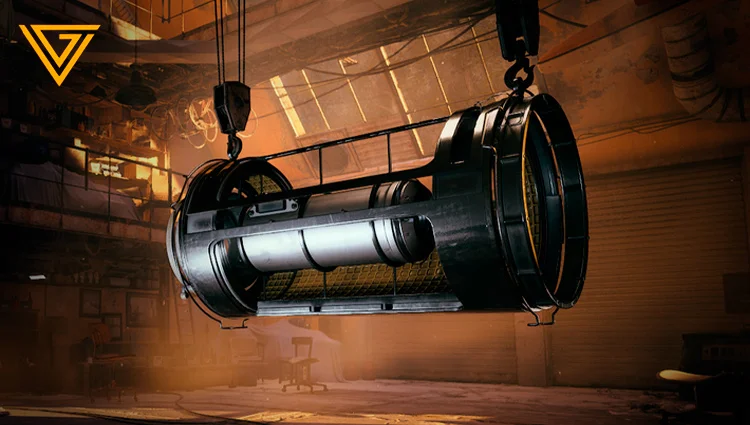
- Industrial Chargers x3
The Industrial Chargers are likely to be the most challenging part. The best map for farming them is Spaceport, specifically in industrial areas such as:
- Rocket Assembly
- Vehicle Maintenance
- Container Storage
These locations offer the highest chance of finding multiple Industrial Chargers per run.
Meanwhile, Durable Cloth and Electrical Components can be crafted in the Refiner using basic materials, making them much easier to obtain.
Do you need any material to complete any stage of your expedition quickly and safely? Take a look at our CATALOG.
Stage 3
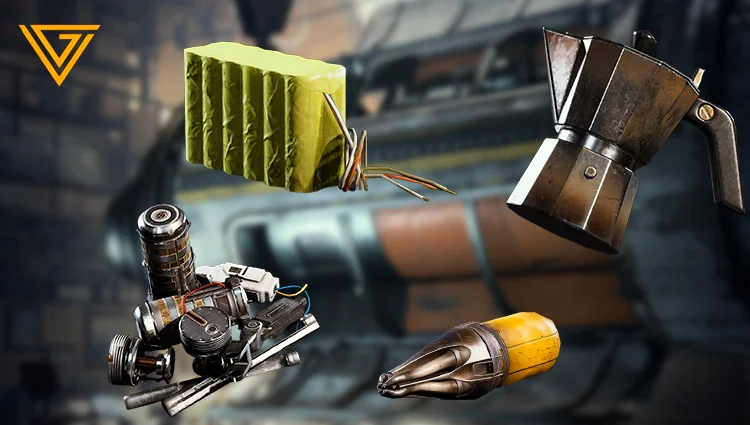
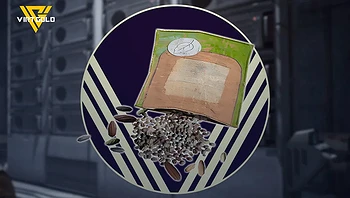
The third stage continues to require items that you might come across during regular gameplay, but a few of them can be tricky to find especially if you don’t know where to look. The materials needed for this stage are:
- Coffee Pot x1
- Battery x25
- Firefly Burner x5
- Exodus Modules x1
Batteries are straightforward and can be easily obtained by looting computers and similar containers. The Firefly Burners drop from defeating ARC Firefly enemies.
Coffee Pots can be found in residential areas. The best map to farm them is Buried City, particularly in locations like Plaza Rosa and Grandioso Apartments.
For Exodus Modules, the best place to farm them is Stella Montis, specifically in the Assembly areas, as explained in our guide Ways to Get Exodus Modules.
Stage 4
This is where things can start to get more challenging, especially if you don’t know exactly where to look. In this stage, you’ll need to gather the following materials:
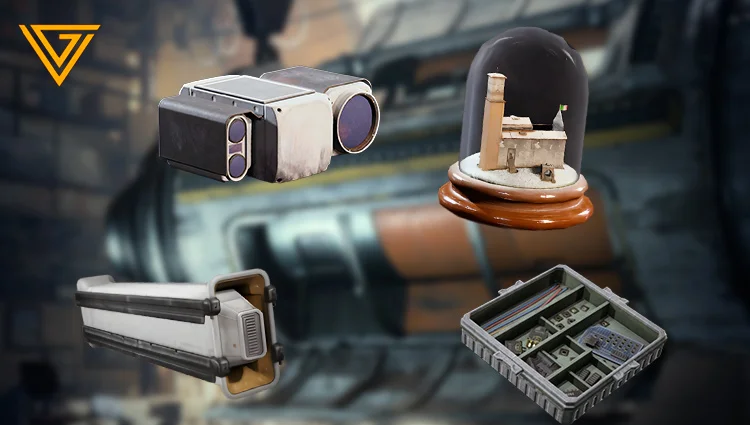
- Broken Guidance System x1
- Advanced Electrical Components x5
- Breathtaking Snow Globe x3
- Bombardier Cell x2
The easiest items to obtain here are the Bombardier Cells, which drop from defeating Bombardier enemies, and the Advanced Electrical Components, which can be crafted using a Level 2 Refiner.
The more time-consuming items are the Breathtaking Snow Globes, which can take multiple runs if you’re unlucky. These are found in residential areas, and the best map to farm them is Buried City. If possible, run it with the Night Raid modifier, as it increases your chances of finding one or even two per run.
Lastly, the Broken Guidance System is a relatively rare item. However, two reliable locations where it can be found are:
- The Launch Tower in Spaceport
- The Assembly area in Stella Montis
Focusing on these spots will greatly improve your chances of completing this stage efficiently.
Stage 5
This is where things change. Instead of farming specific materials, you’ll need to contribute items to complete the expedition’s vital supplies. This is the final stage and often the one where players feel the most lost.
This stage is divided into four categories:
- Combat Equipment
- Survival Equipment
- Provisions
- Materials
Everything you contribute will count toward reaching a required coin value.
Combat Equipment (200,000 coins)
The best strategy here is to sell weapons such as the Tempest and the Bobcat. Both are relatively easy to craft since they share similar and accessible materials.
If you sell these weapons at Level IV, each can be worth around 27,000 coins, meaning you’ll only need to sell about 7–8 weapons to reach the goal.
Survival Equipment (100,000 coins)
For this category, the ideal approach is to contribute items like:
- Healing supplies (e.g., Vita Shots or Herbal Bandages)
- Augments, which are also a solid option since they are relatively easy to craft
Provisions (150,000 coins)
This one is very straightforward. Start by donating any duplicate blueprints you have. Just make sure not to give away valuable or hard-to-find ones, such as the Looting MK3 Survivor.
You can also contribute trinkets collected during your raids, as they quickly add up in value.
Materials (300,000 coins)
This is the easiest category. Simply use any excess materials you have or don’t currently need. It’s a flexible section that allows you to complete the requirement without much effort.
Stage 6
This is the final stage. At this point, all you need to do is wait for the expedition window to open, which runs from April 28 to May 11. During this period, you’ll have the opportunity to perform your wipe.
Regarding the expedition changes, skill points are now distributed based on damage dealt, as follows:
- 1 Skill Point: 5,000 damage
- 2 Skill Points: 10,000 damage
- 3 Skill Points: 30,000 damage
- 4 Skill Points: 50,000 damage
- 5 Skill Points: 100,000 damage
This means your progression now depends on how much damage you deal, rather than other previous requirements.